



Secure Checkout
Your payment information is processed securely. We do not store credit card details nor have access to your credit card information.
Description
Rubber Hopscotch Tiles — The Complete Numbered Court for Any Playground
Transform any outdoor space into an instant, permanent hopscotch court. This complete set of 10 numbered rubber tiles (500mm × 500mm × 30mm each) brings the classic playground game to life with bold colour-coded numbers, a durable SBR rubber base for shock absorption, and a UV-stable EPDM colour top that keeps the numbers bright and vivid year after year. Compatible with our 30mm playground tile range — mix them in or use them as a standalone feature.
What's in the Set
| Tiles per set | 10 numbered tiles (1 through 10) |
| Tile dimensions | 500mm × 500mm × 30mm each |
| Total coverage | 5.0 m² (10 tiles × 0.25 m² each) |
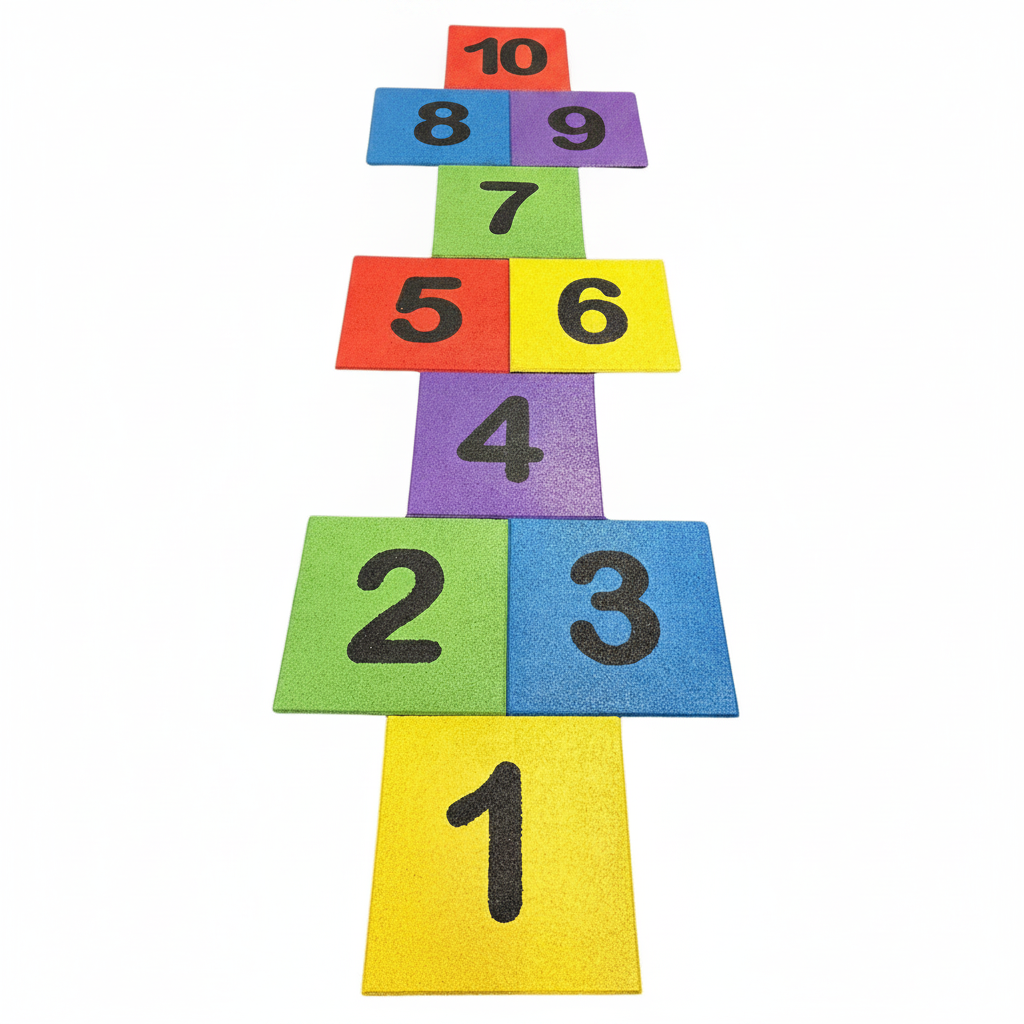
| Colour coding | Numbers 1 & 6 — Yellow | 2 & 7 — Green | 3 & 8 — Blue | 4 & 9 — Purple | 5 & 10 — Red |
| Base material | SBR (Styrene-Butadiene Rubber) — shock-absorbent, impact-resistant |
| Top surface | EPDM (Ethylene Propylene Diene Monomer) — UV-stable, fade-resistant colour |
| Installation | Interlocking dowel connectors included — no adhesive required |
| Compatible with | 30mm Rubber Playground Tiles (500mm × 500mm) |
| Weather resistance | Frost-proof, waterproof, UV-stable — year-round outdoor use |
| Origin | Made in Europe |
Colour Coding — At a Glance
| Colour | Tile Numbers |
|---|---|
| 🟡 Yellow | 1 and 6 |
| 🟢 Green | 2 and 7 |
| 🔵 Blue | 3 and 8 |
| 🟣 Purple | 4 and 9 |
| 🔴 Red | 5 and 10 |
Why Rubber Hopscotch Tiles Beat Painted Markings
| Feature | Rubber Hopscotch Tiles | Painted Playground Markings |
|---|---|---|
| Longevity | Years — EPDM colour does not fade or chip | Needs repainting every 1–2 years |
| Shock absorption | Built-in 30mm rubber base cushions falls | None — hard surface |
| Installation | Lay and connect — done in minutes | Requires specialist contractor |
| Removable | Yes — relocate or store away | No — permanent |
| Slip resistance | Textured rubber — excellent grip wet or dry | Slippery when wet |
| Cost over 5 years | One-off purchase | Repeated repainting costs |
Installation Guide
- Choose your layout — Traditional hopscotch runs in a single file pattern: tiles 1, 2–3 side by side, 4, 5–6 side by side, 7, 8–9 side by side, 10. Plan on ground before connecting.
- Connect with dowels — Insert included dowel pins into the connector holes between adjacent tiles. Push firmly until flush — no tools or adhesive needed.
- Use standalone or integrate — Tiles connect directly with any 30mm playground tiles in the same system. Place the hopscotch court as a feature within a larger tile installation.
- Cut to fit substrate — If fitting within a bordered area, individual tiles can be trimmed with a sharp utility knife or jigsaw.
- Optional: Add ramp edges — Use our 30mm ramped edge pieces around the perimeter for a trip-free, professional finish.
Where These Are Used
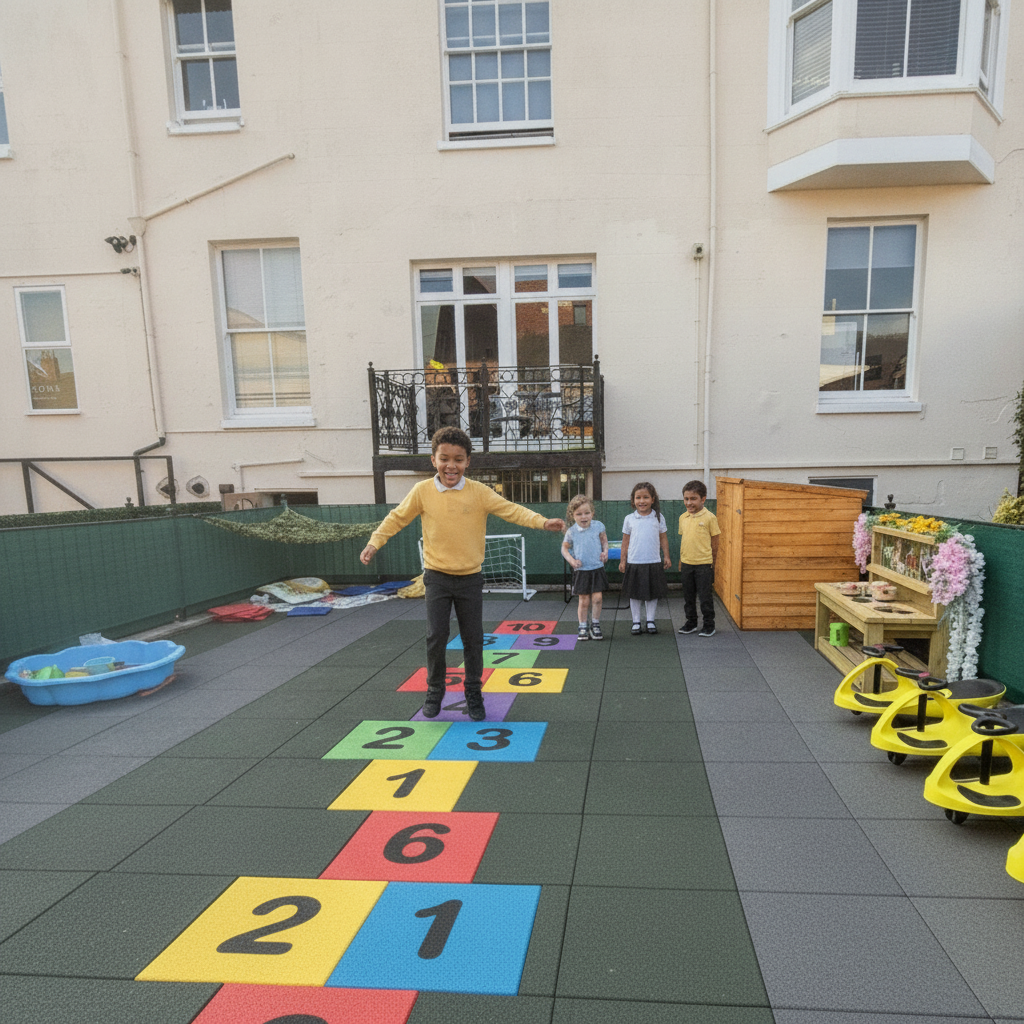
- Primary Schools & Nurseries — Classic curriculum-linked activity for numeracy, coordination and active play
- Public Parks & Recreational Areas — A durable, permanent play feature that needs zero maintenance
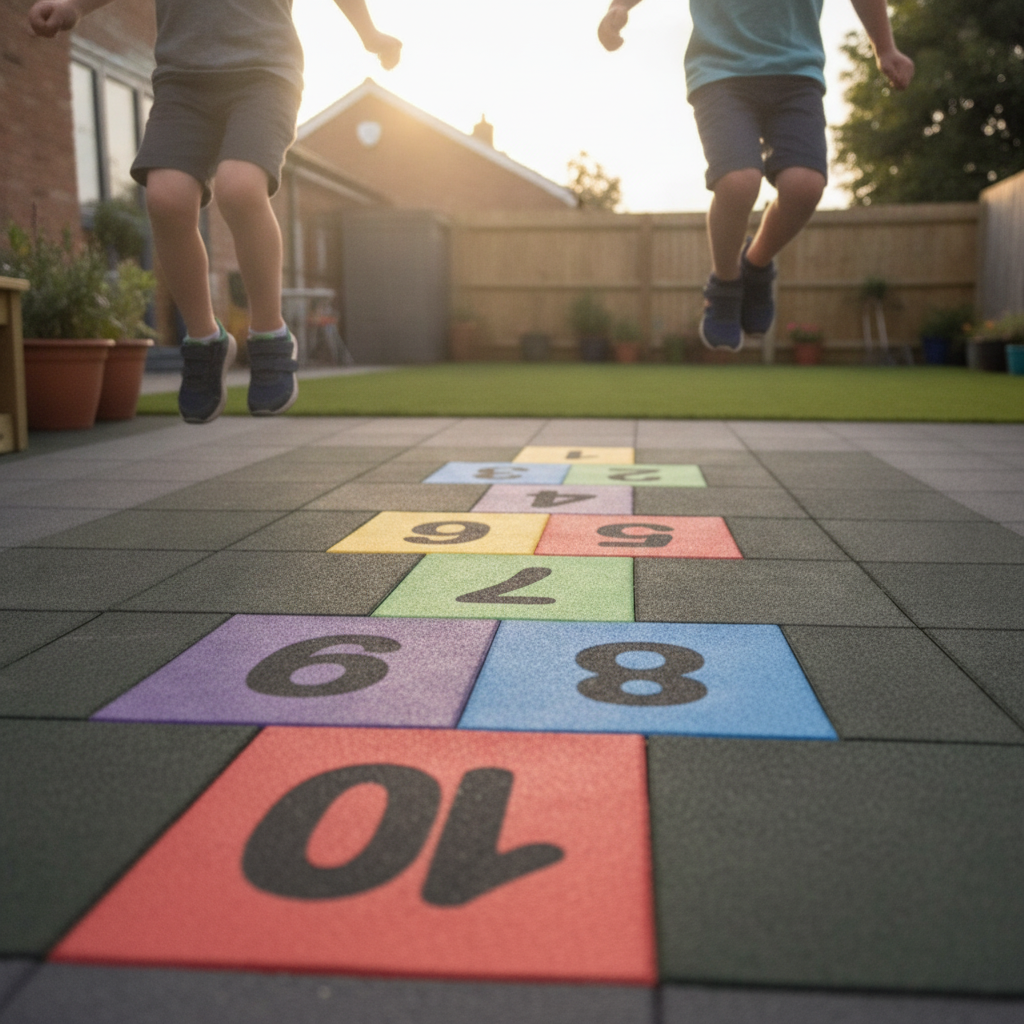
- Garden Play Areas — Instantly create a play zone in any domestic outdoor space
- Holiday Parks & Campsites — Engaging activity feature for children's entertainment areas
- Sports Centres & Leisure Facilities — Used in warm-up zones and children's activity areas
Mixes with 30mm Playground Tiles
All hopscotch tiles share the same 500mm × 500mm × 30mm format and connector system as our standard 30mm playground tiles. This means you can seamlessly integrate a hopscotch court into a larger black, green or red tile installation — the hopscotch tiles connect directly to standard tiles with no adapters or additional parts.
Frequently Asked Questions
Q: How many tiles are in the set?
A: The set contains 10 tiles, numbered 1 through 10, each in a colour-coded EPDM top surface. The set covers 2.5m² in a standard hopscotch layout.
Q: Can I use these on grass?
A: Yes — the tiles can be laid on any reasonably flat surface including compacted grass, for temporary or semi-permanent use. For a permanent installation, a firm base (concrete, tarmac or compacted hardcore) is recommended.
Q: Do these connect with the 30mm playground tiles?
A: Yes — hopscotch tiles use the same 500mm × 500mm format and dowel connector system. They integrate directly into any 30mm playground tile installation.
Q: Are the colours fade-resistant?
A: Yes. The EPDM top layer is UV-stabilised, making it highly resistant to fading from sun exposure. The colour is through the surface layer, not a painted coating.
Q: Do they need adhesive?
A: No — the included dowel connectors hold tiles together without any adhesive, making installation and future reconfiguration simple.
Q: Can I add ramp edges around the hopscotch court?
A: Yes — our 30mm ramped edge and corner pieces pair directly with these tiles for a professional, trip-free perimeter finish.
Q: Are these suitable for younger children?
A: The 30mm rubber base provides excellent impact cushioning, and the EPDM surface offers strong grip wet or dry. The bright colours and clear numbering make them ideal for EYFS and early primary age groups.
Q: What layout pattern do I use?
A: Traditional hopscotch: tile 1 alone, tiles 2–3 side by side, tile 4 alone, tiles 5–6 side by side, tile 7 alone, tiles 8–9 side by side, tile 10 alone at the top. Total footprint approximately 500mm wide × 5000mm long.
👥 Expert guidance for schools, councils & contractors
Our team includes former playground safety inspectors and EN1177-trained specification advisors. For project quotations, EN1177 compliance packs, quantity calculations, or school tender documentation — contact us directly. All specification support is provided free of charge.
📋 Trade & procurement accounts available
Schools, local authorities, contractors and developers can apply for a trade account — volume pricing, priority dispatch, and dedicated account management. EN1177 test certificates, UKAS lab reports, and BS EN 1176 compatibility statements supplied with all orders.
Material: Recycled SBR rubber with EPDM colour granule surface
Tile Size: 500mm × 500mm
Thickness: 30mm
Set Contents: 10 tiles (numbered 1–10 in hopscotch sequence)
Total Coverage: 2.5m² per set
Safety Standard: EN1177:2018 (up to 1.0m CFH at 30mm)
Number Display: Integral moulded numbers — will not peel, fade, or wear away
Colours: Multi-colour set (colours may vary per set)
UV Resistance: UV-stable EPDM surface
Frost Resistance: Yes — suitable for permanent outdoor installation
Drainage: Permeable construction
Recommended Use: School playgrounds, nursery outdoor areas, children's play spaces, community play areas
INSTALLATION
Rubber hopscotch tiles form a complete numbered play set when laid in sequence. Lay the tiles in hopscotch formation on a clean, level surface — indoor or outdoor. For permanent outdoor installations, bond tiles to a concrete or tarmac sub-base with rubber adhesive. Ensure numbers are laid in correct sequence (1–10) in the traditional hopscotch pattern. Tiles can be repositioned and reinstalled if the layout needs changing. Install edging strips at exposed perimeter edges.
MAINTENANCE
Brush off debris and sweep regularly. Jet wash to clean outdoor installations. Inspect bonded tiles periodically and re-adhere any that have lifted. The number graphics are integral to the rubber — they do not fade, peel, or wear away under normal play conditions.
Free delivery on all UK orders. Orders are typically dispatched within 1-2 business days and delivered within 3-5 working days. Pallet delivery for large orders.
Not happy with your purchase? Contact us within 14 days and we'll arrange a return. Call 01744 520 110 or email sales@playgroundtiles.uk